by Julie | Feb 11, 2016 | Consulting, Employee Training, Interim Management, Management
The task of operator training is typically delegated to the department supervisor or lead. Rarely, if ever, is the supervisor or lead given the proper tools to be an effective trainer. And since the supervisor is also evaluating the operator’s performance, the feedback loop on training effectiveness may be lost. Being an effective trainer goes beyond knowing the material. It requires an ability to communicate in such a way that the trainee can learn the required information.
Listed below are some suggestions on how ways to improve the effectiveness of your training.
- Ensure the trainer has the necessary skills to conduct operator training. Check out this blog for what I consider the necessary skills to be an effective trainer. In some cases, it may be necessary to delegate training to an individual who may not be a lead/supervisor in order to ensure the training is as effective as possible.
- Periodically observe the training being conducted and provide feedback for the trainer.
- If possible, also have the trainee provide feedback on the trainer.
- Make sure there is some way to demonstrate the operator has learned the necessary information in order to do this task on his or her own. This can be through a verbal test, written quiz or a demonstration.
- Invest in some “train the trainer” training so the supervisors and/or lead can develop their skills as a trainer.
Creating an environment of learning can go a long way towards improving the performance of your plant. Increasing the skills of your trainers will help operators learn faster, be more engaged and ultimately improve the bottom line. And isn’t that the name of the game?
For more practical tips for manufacturing professionals to attract, train and retain your hourly workforce, go to www.keyprocessinnovations.com.

by Julie | Feb 4, 2016 | Consulting, Employee Training, Interim Management, Management
It is my belief and experience that operators don’t want to do a bad job. They want to do what is asked of them and do it to the best of their ability. But, we still see instances where operators aren’t following the established procedures. And when that happens, we need to understand why so steps can be taken to address the issue(s).
If you find yourself asking why your operators aren’t following procedures, here are some questions you can ask to help get to the root cause of the problem.
Were the instructions clearly defined? It may be clear in your mind how things need to be done, but, without providing detailed instructions, the task may be left up to the operator’s interpretation.
Are there visual reminders as to what needs to be done? Don’t rely on an operator to remember all the details of a particular process. Make procedures available for reference or post standard work on the floor to remind operators of the proper way to do a particular task.
Is there a better way to do it? Operators who do a particular task on a repetitive basis may have a more efficient way. Making yourself open for improved techniques will make the operators more likely to share their ideas, rather than doing it their way when you aren’t around.
Do the operators need refresher training? No matter the task, after a certain amount of time, an operator might need a little refresher training. The frequency of the refresher training could be impacted by the availability of visual reminders.
Have the operators been properly trained? There are times when the training wasn’t sufficient for the operators. If that proves to be the case, then it may be necessary to assess the effectiveness of your training and/or the trainer.
In the next blog, we will look at ways to assess the effectiveness of your trainer.
For more practical tips for manufacturing professionals to attract, train and retain your hourly workforce, go to www.keyprocessinnovations.com.

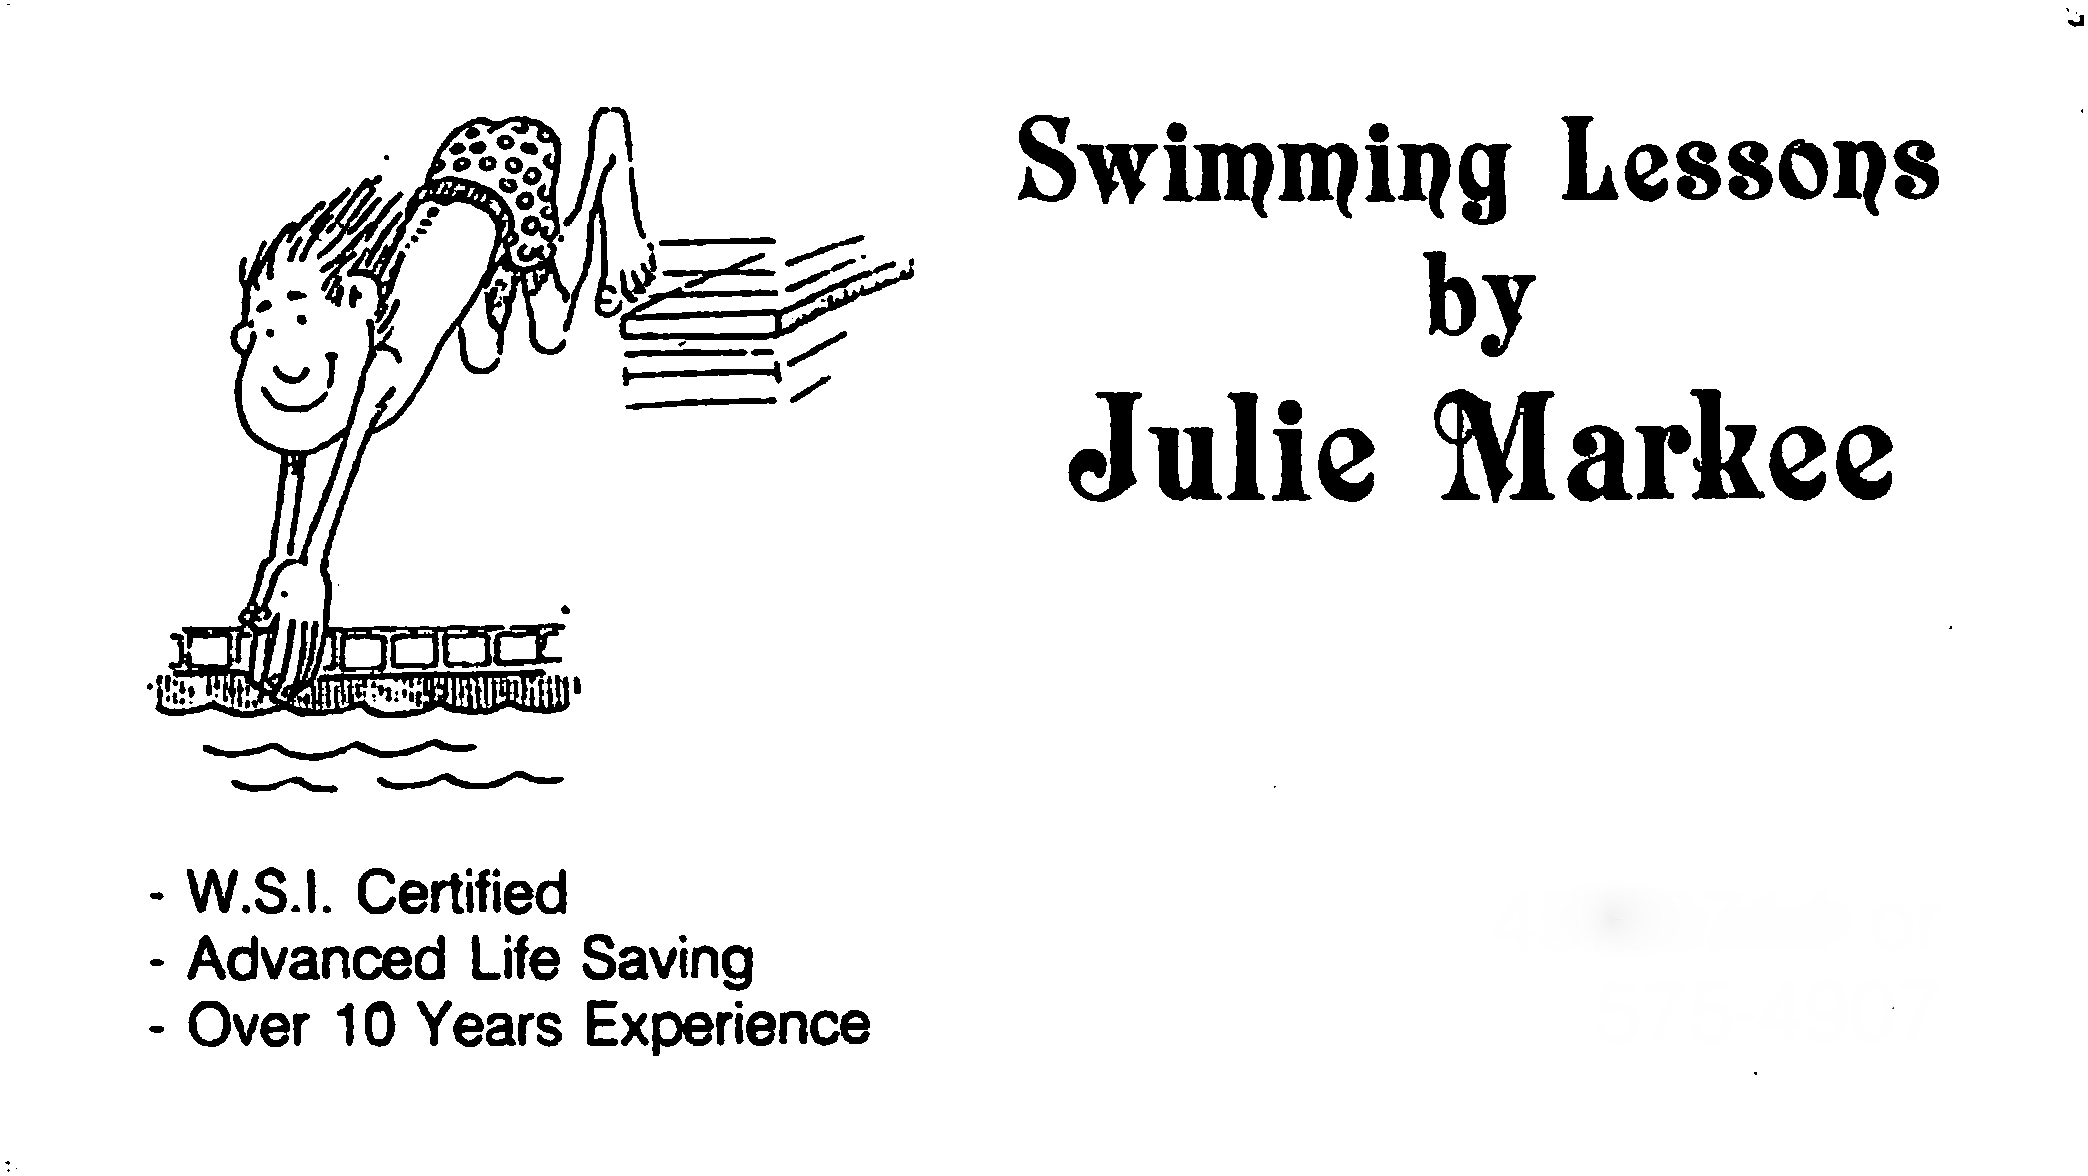
by Julie | Feb 1, 2016 | Consulting, Employee Training, Management
When I was 8 years old, I started my own business as a swim instructor. During my 12+ years, I taught over 300 children ranging from 9 months to 18 years in my parent’s backyard pool.
Teaching children to swim felt very natural to me. I was able to adapt my teaching style to the student and I learned that an approach that worked for one student wouldn’t necessarily work for another. There is no doubt that I carried the skills I developed as an instructor into my career on “dry land.”
A number of years ago, I was asked what skills I used in order to be an effective swim instructor and I thought I’d share that list below. I believe these skills are also needed when training operators in a manufacturing environment.
- Reassuring. Remember the fear of putting your face in the water the first time? Having people relax before learning new tasks is critical in order for them to follow the material being presented.
- Adaptable. Everyone learns differently so utilizing more of the senses can improve information retention. At a minimum, training needs to utilize audio, visual and kinesthetic elements to optimize the learning process.
- Patience. Learning new information can be difficult, especially for adults. And the trainer needs to be able to go through the material numerous times with the trainee without showing any frustration.
- Ability to read nonverbal communication. When an individual is learning a new skill and struggling to master it, it isn’t uncommon for him to feign understanding to make the trainer think that he understands. However, by reading non-verbal clues the trainer can gain more insight into how well the operator is grasping the information.
- Introspection. In order to be a good trainer, she must be able to look at the training process, identify areas where improvement is needed and make the required modifications.
Mastering these skills will help maximize the effectiveness of your training. And if you are going to invest in training, don’t you want the trainee to get the maximum value out of the training?
For more practical tips for manufacturing professionals to attract, train and retain your hourly workforce, go to www.keyprocessinnovations.com.

by Julie | Jan 22, 2016 | Employee Training, Management
As adults, we tend to cringe when we go to in-house training. It seems that we are conditioned to expect the trainer to be boring, the content to be outdated and the outcome to be marginal,at best. But, the reality is that investing in employee training is expensive and as a manager, we wouldn’t doit unless we either felt compelled or we had something of real value that we wanted our employees to learn.
Making a few simple changes to the structure of your training can improve the overall effectiveness.
- Start the training with a mental exercise. When most people walk into a meeting, they are thinking about what is happening outside of the room. The focus needs to switch to what is happening within the room. This exercise can be a brain teaser or a group activity – something short that can shift the focus to the training that is about to start.
- State the objectives of the training. This includes the overall objective(s) of the training and for each of the sections.
- Make sure the trainer knows the material. Nothing will turn off an employee faster than having someone read the material to them.
- Present the material in different ways so the employee can understand it, including visual, verbal and kinesthetic.
- Make the training relevant. For example, if you are conducting safety training, provide examples of situations within the facility that an employee might be exposed.
- Explain the why behind for the training. Using “because I said so” might work for a young child, but, when an employee understands the why, he is much more likely to internalize what is being taught.
- Set some rules, with specific penalties if they are broken. For example, one company would fine anyone $1 for coming back from a break late (including the instructors). While the penalties were collected in the spirit of fun, it definitely sent a message about the importance of being on-time.
- Get the employees involved and moving around. Group activities and team sharing can help break up the lectures while also personalizing the training.
Once the training is complete, make sure to get some input from the attendees. What did people like? What needed improvement? And if possible, tie the training back to an ROI for the business.
For more practical tips for manufacturing professionals to attract, train and retain your hourly workforce, go to www.keyprocessinnovations.com.

by Julie | Jan 13, 2016 | Consulting, Employee Training, Interim Management
After expending company resources to find and hire a great new employee, have you thought about what the employee will need to know in order to be successful in your organization?
A report from the Society of Human Resource Management found that half of all hourly employees leave within the first 120 days. However, another study completed by the Wynhurst Group found that having an effective onboarding process can increase employee retention by 58 percent, and improve employee performance by 11 percent.
Wikipedia defines onboarding as the mechanism through which new employees acquire the necessary knowledge, skills, and behaviors to become effective organizational members and insiders.
Here are some best practices to establish an effective onboarding process for your company:
- Establish an onboarding outline. This outline may vary for each position but should be adapted for each specific candidate. Key aspects include:
- Expectations of the job;
- Explanation of how their job contributes to the company’s strategic goals;
- Job specific training with key personnel assigned to assist with the training;
- Company focused training so the employee understands the business, including the values and culture;
- Performance goals;
- Feedback.
- Be prepared for the employee prior to her first day. What kind of a message does it send when you aren’t prepared for the employee on his/her first day? Paperwork should be prepared, schedule established and team members notified. Having a new employee standing around waiting for you doesn’t send a welcoming message.
- Make onboarding a two-way street. Giving some responsibility to the employee during onboarding helps them gain ownership in the process. For example, you could have an employee list the areas where he feels he needs further training or exposure.
- Establish a calendar for onboarding. What specifically does the company need to do in the 1st day, week, month and beyond? What specifically is the employee responsible for? One company requires that the employee and supervisor set goals during the first 30 days which must be completed prior to the 90-day review.
- Schedule one-on-one meetings on a consistent basis. During these meetings, both parties should be open to feedback, suggestions and questions.
- Extend the onboarding process beyond 90 days. As the employee becomes a contributing member of the workforce, shift the conversation towards employee development and advancement.
Considering how difficult it is to find qualified employees, doesn’t it make sense to have an effective onboarding process to ensure that you retain and develop the ones you have?
For more practical tips for manufacturing professionals to attract, train and retain your hourly workforce, go to www.keyprocessinnovations.com.